Usually when I try to do anything with off-camera lighting it's enjoyable, but often incredibly frustrating. Trying to take self-portraits for example, can drive you slightly round the bend - trying to get the lights, exposure and focus right is difficult and a little bit annoying. It's the same with water drops. Focus and timing are a pain.
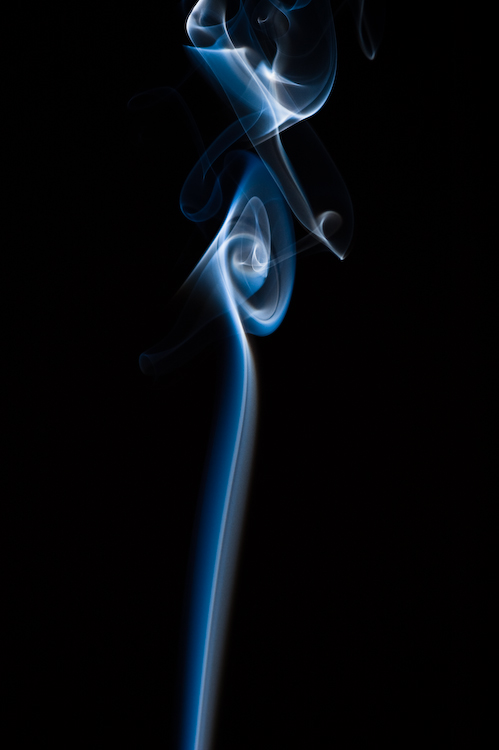
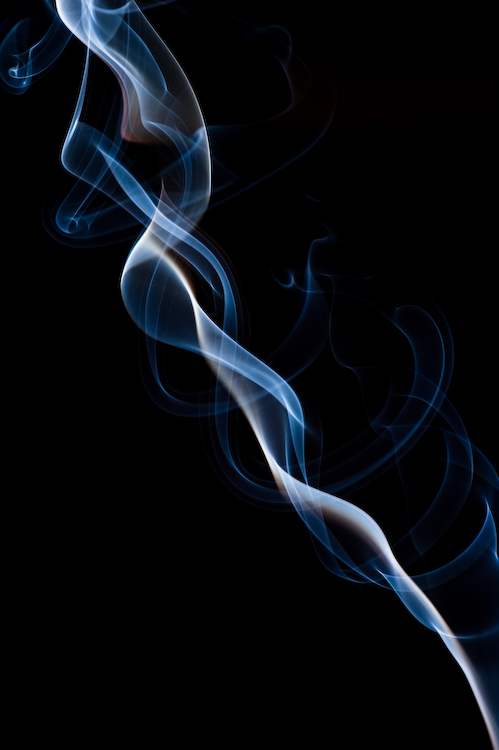
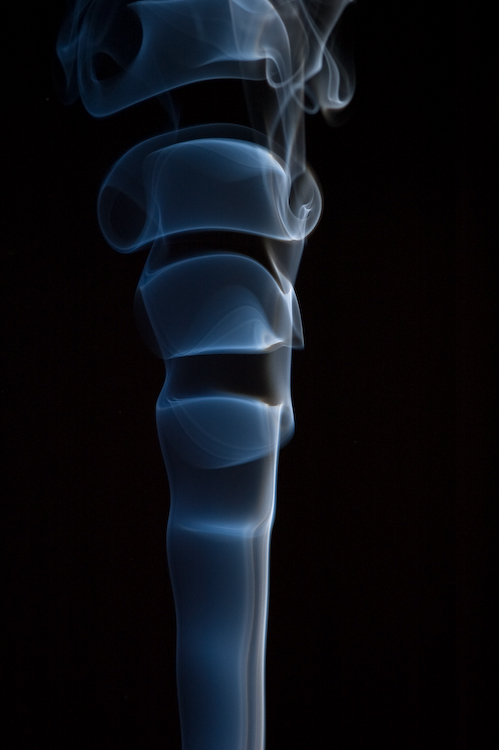
However, doing this smoke photography has been one of the easiest and most enjoyable and rewarding half-hours in quite some time. Everything actually worked straight away, and I got results that look somewhat like those in the tutorial. Although I didn't have any of the required equipment, I was easily able to find random stuff around the house to fill in. Anyway, here are a couple of my favourite shots. At the end I have posted a couple of pictures of the set-up. I would explain further how I did everything, but the tutorial above does a much better job than I could.
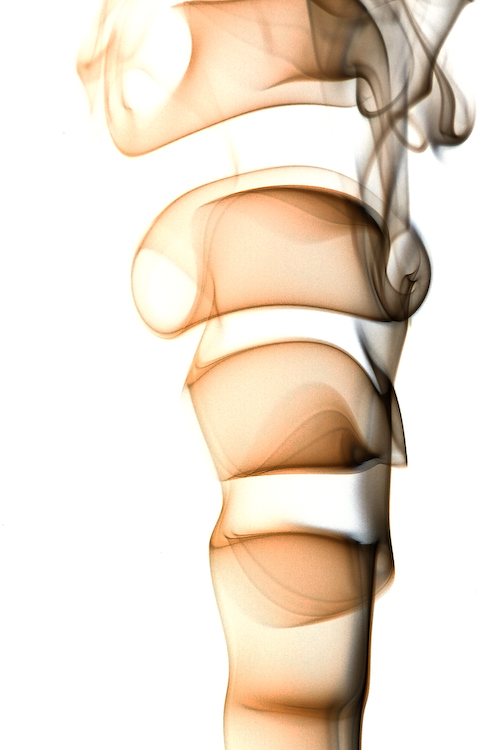
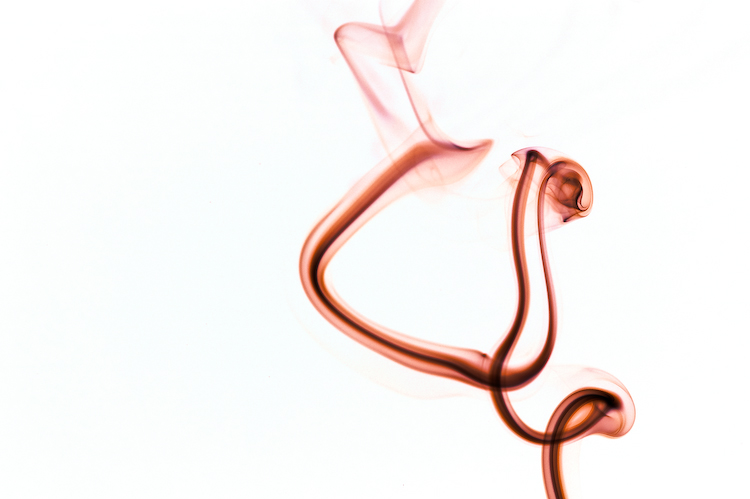
These two have been altered somewhat: I inverted the colours in the GIMP and messed around with the colour balance a bit. The rest are pretty much out of the camera with some curves adjustments made.

Here is the setup. I used a black t-shirt hung over a chair, a cardboard box snoot, a black page of a calendar as a reflector, and yes, that is a tin of sardines holding up the incense. The second photo is a wide-angle shot with the flash firing, to give an idea of what it does. Notice in particular how the snoot stops any light from reaching the black t-shirt in the background.


All in all, that was extremely satisfying. I highly recommend giving it a go, you probably won't have to buy any new equipment and you won't have to leave your house!

